Installing a custom recovery such as TWRP or CWM on Nexus 4 is desirable if you want to flash custom ROMs, mod or implement different tweaks that are not available in the stock Android. Even though you can root Nexus 4 without any need to flash a custom recovery prior to the process, still installing CWM or TWRP recovery will make the rooting process a breeze if you’ve not rooted your device yet. In this guide you’ll learn how to flash/install TWRP or ClockworkMod (CWM) recovery on your Google Nexus 4 Smartphone.

This guide will teach you to install custom recovery on Nexus 4 using a very easy – one-click flash method. Just choose the recovery of your liking from TWRP or CWM and follow the steps mentioned below to install it on your Nexus 4. Before installing TWRP or CWM recovery on Nexus 4, make sure to read the these important points:
- This custom recovery installation guide should work with all the Nexus 4 devices running Android 4.1 or later.
- Backup your personal data and make sure your phone battery is charged.
- Install ADB drivers.
- Unlocked bootloader is required to install any custom recovery on it. The tool will unlock the bootloader if you’ve not already. (Make sure to backup your personal data because unlocking bootloader will wipe your device).
How to install TWRP or CWM Recovery on Nexus 4
1. The two most popular custom recoveries are available for the Google Nexus 4: ClockworkMod (CWM) and TeamWin Recovery Project (TWRP). Download the custom recovery of your choice and extract .zip file’s contents:
Download ClockworkMod Recovery for Nexus 4
Download ClockworkMod Touch Recovery for Nexus 4
Download TWRP Recovery for Nexus 4
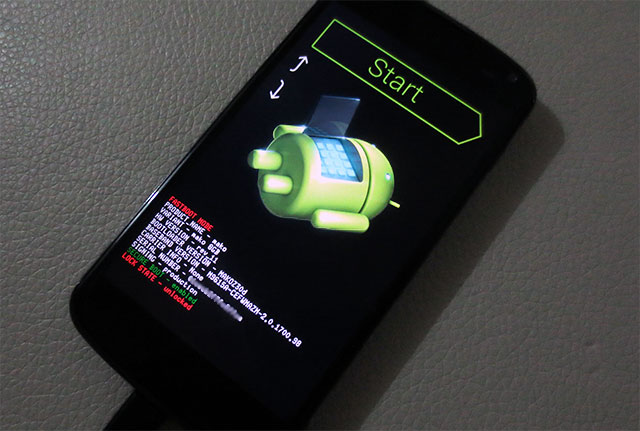
2. Now turn off your Nexus 4 and put it in Fastboot mode by simultaneously pressing the volume down + power buttons. When you see the “Start” text on the screen, release the button. You’re now in Fastboot Mode.
3. Now connect your device to your computer via USB cable and let the drivers installation to complete. Now go to the extracted recovery folder (from step 1) and launch the “recovery-windows” file or the file of your OS (Mac or Linux).
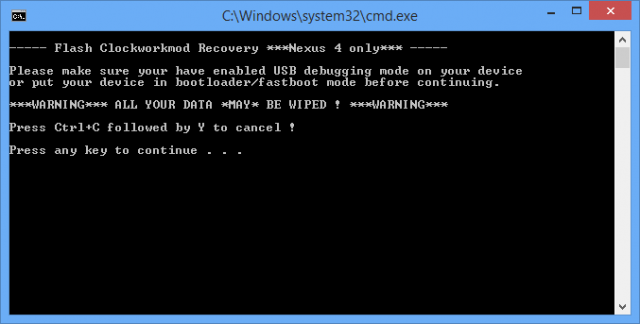
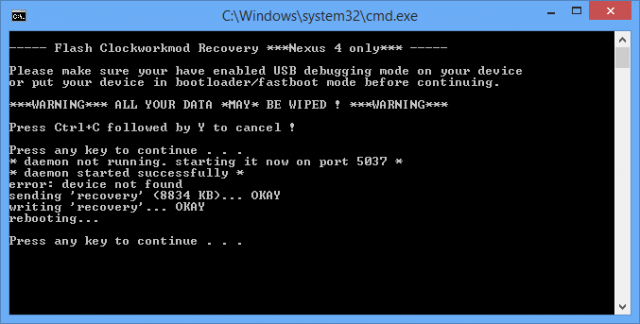
4. Now press any key to begin the recovery installation process. First it’ll unlock bootloader of your device if you have not already and then it’ll install the custom recovery on your Nexus 4.
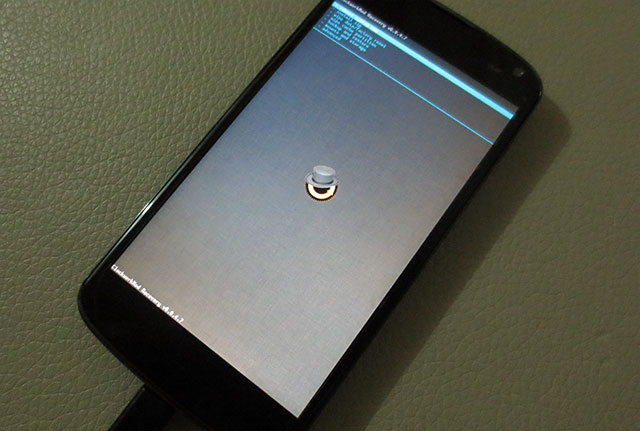
5. Once done, you Nexus 4 will boot normally. That’s it! now you can enter into recovery mode by simultaneously pressing the volume down + power buttons and then use volume buttons to navigate between options and choose Recovery.
You might also be interested in an easier to follow guide to root Nexus 4.
I am stuck on step 3. It is in Fastboot mode but at the bottom it says LOCK STATE – locked. I followed the steps yet I seem to have done something wrong or missed something. And I can’t seem to figure out what. How long is Fastboot mode supposed to take? I’m guessing maybe a few minutes?
I’ve tried it a few times. And accidentally rebooted the phone back up to regular mode. In the process it’s drained my battery to 2%.
So I cannot proceed to installing TWRP. Help please.
Also where do I extract the files from the TWRP’s .zip file?
I have put it on the root of the phone and left the path as is
twrp-nexus-4-autoflash
When I reboot into Fastboot mode using volume down + power button it just sits there doing nothing.